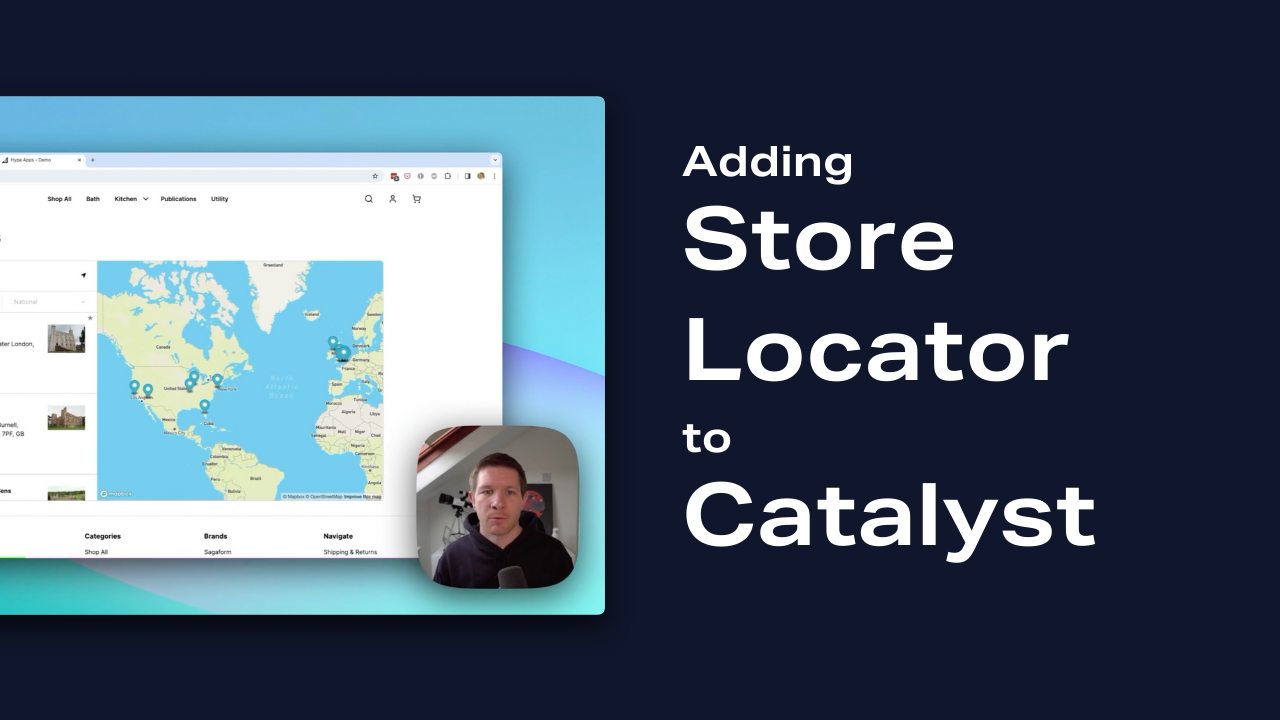
We recently began exploring BigCommerce Catalyst and looking at how we can help customers looking to adopt it. The first step was to provide support for Store Locator while also documenting how to get set up with Catalyst.
With our approach validated, we’ve then more forwarded with a goal of adding compatibility for all of our apps. The next app that we can announce support for is Mega Menu Builder.
When implementing Store Locator we’d quickly identified that the minimum requirement is to have access to app functionality via an API. This unlocks the ability for developers to integrate, however, it still puts a lot of work on their shoulders. One of the benefits of apps such as Store Locator and Mega Menu is that they come with well-designed, and proven frontend experiences – a great place to start for many people.
So when we’ve looked at providing a way for developers working with Catalyst or any Next.js storefront, to integrate Mega Menu, we’ve targeted two levels of integrations. 1) A way to fetch a menu and its menu items, and, 2) Use the Hypa mega menu storefront implementation by installing a react package.
Let’s go through both of those now, and get started by installing the first version of our Mega Menu npm package.
npm install @hypa-apps/mega-menu-builder We can then add a new function to fetch menu items. We’ve added this to client/queries/get-hypa-menu-items.ts
import { MenuItem } from '@hypa-apps/mega-menu-builder/dist/types';

export const getHypaMenuItems = async (storeHash: string, menuCode: string): Promise<MenuItem[]> => {
  const path = `https://megamenu.hypaapps.com/megamenubuilder/${storeHash}/${menuCode}`;

  try {
    const response = await fetch(path);
    // eslint-disable-next-line @typescript-eslint/consistent-type-assertions
    const data = (await response.json()) as { data: MenuItem[] };

    return data.data;
  } catch (error) {
    return [];
  }
};
You can see that this requires two props, the BigCommerce store hash, and the code for the menu you which to use (found in Menu settings).
Mega menu react component
For developers wanting more control over the storefront experience and implementing a custom mega menu, that’s as far as they need to go with fetching a list of menu items.
However, if you also want to have the same Mega Menu as on a stencil-based environment, you can import our React component into components/header/index.tsx
There are a few changes to make. Firstly, you can add a few imports:
import { MegaMenuBuilder } from "@hypa-apps/mega-menu-builder";
import { MenuItem } from '@hypa-apps/mega-menu-builder/dist/types';
import '@hypa-apps/mega-menu-builder/dist/css/mega-menu-builder.css';
import { getHypaMenuItems } from '~/client/queries/get-hypa-menu-items';
Use our new helper to fetch menu items:
const menuItems = await getHypaMenuItems(process.env.BIGCOMMERCE_STORE_HASH, process.env.HYPA_MENU_CODE);Note that you’ll need to add HYPA_MENU_CODE to your environment variables, e.g. .env.local. To find the menu code, open the Mega Menu Builder app, find your menu and then open the Settings tab.
You may also add some additional conditions to ensure that the BigCommerce Store Hash and the Hypa Menu Code are always available.
Next, you’ll want to replace the default Navigation component with ours. There are two instances in this file, one for desktop, and one for mobile. The first will look like this:
<HeaderNav className="hidden xl:flex" data={data.categoryTree} />This can be replaced with:
 <MegaMenuBuilder
  className="hidden lg:block"
  code={process.env.HYPA_MENU_CODE}
  menuItems={menuItems}
  storeHash={process.env.BIGCOMMERCE_STORE_HASH}
  theme="desktop"
/>
Then, find the mobile menu:
<NavigationMenuCollapsed>
  <HeaderNav data={data.categoryTree} inCollapsedNav />
</NavigationMenuCollapsed>
And replace it with our new component:
<NavigationMenuCollapsed className="px-0 sm:px-0">
  <MegaMenuBuilder
    code={process.env.HYPA_MENU_CODE}
    menuItems={menuItems}
    storeHash={process.env.BIGCOMMERCE_STORE_HASH}
    theme="mobile"
  />
</NavigationMenuCollapsed>
Once again, you can add more conditionals around these components to ensure our environment variables exist. You may even choose to fall back to BigCommerce’s default menu if they aren’t defined.
Customer group support
Mega Menu Builder supports showing and hiding menu items depending on the logged-in customer and the customer group that they are assigned to. Our react component also has support for this feature.
To access it, create a further helper function in a new file client/queries/get-customer-group-id.ts
import { cache } from 'react';

import { getSessionCustomerId } from '~/auth';
import { client } from '~/client';
import { graphql } from '~/client/generated';

import { revalidate } from '../revalidate-target';

const GET_CUSTOMER_GROUP_ID_QUERY = graphql(`
  query getCustomerGroupId {
    customer {
      customerGroupId
    }
  }
`);

export const getCustomerGroupId = cache(async () => {
  const customerId = await getSessionCustomerId();

  const response = await client.fetch({
    document: GET_CUSTOMER_GROUP_ID_QUERY,
    variables: {},
    customerId,
    fetchOptions: { next: { revalidate } },
  });

  const customerGroupId = response.data.customer?.customerGroupId;

  if (!customerGroupId) {
    return null;
  }

  return customerGroupId;
});
Then, hop back into header/index.tsx and find the line where you fetch menu items and add a line to get the current customer’s customer group ID:
const customerGroupId = await getCustomerGroupId();You can then update the reference to our react component to pass in the customer group as a further prop, e.g.
<MegaMenuBuilder
  className="hidden lg:block"
  code={process.env.HYPA_MENU_CODE}
  customerGroupId={customerGroupId}
  customerId={customerId}
  menuItems={menuItems}
  storeHash={process.env.BIGCOMMERCE_STORE_HASH}
  theme="desktop"
/>
And with that, you’re done!
If you have any feedback, or feature requests, please get in touch!
